CloudFunnels - Input Tutorial
Hello Folks, today we will discuss inputs in CloudFunnels. One of the important functions of CloudFunnels is to gather customer data from opt-in pages.
In order to serve the data with relevant information CloudFunnels uses the system called inputs.
Watch the Video
Let’s open funnels to take a look.
- Click on Funnels and sites
- From the funnels and sites page, you can open the learning page by clicking on the project name.

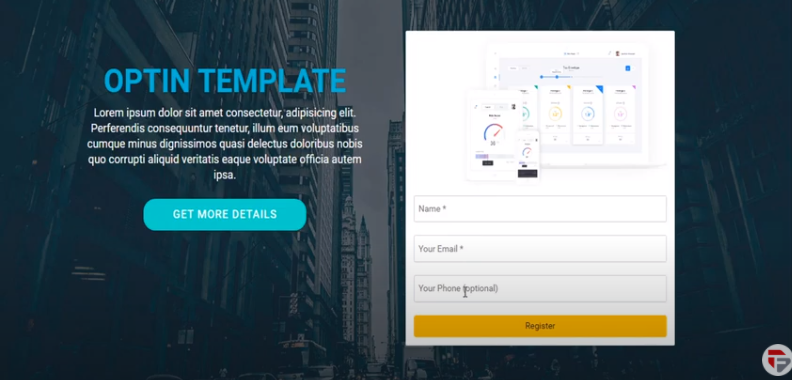
For example, here we have an Optin Form that requests the customer’s name, email address, and phone number.
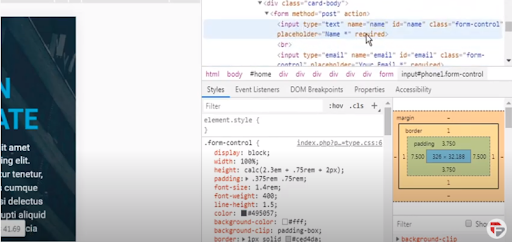
If we open the page inspector ( right-click on your mouse) we can see the input types requested here are
- Name where the placeholder says the Name
- Email where the placeholder says Your Email
- Phone where the placeholder says Your Phone
These are the Inputs and we have control over them. Let’s go back to CloudFunnels and see how it works.
- Under this funnel, let’s click under the action column edit funnel.
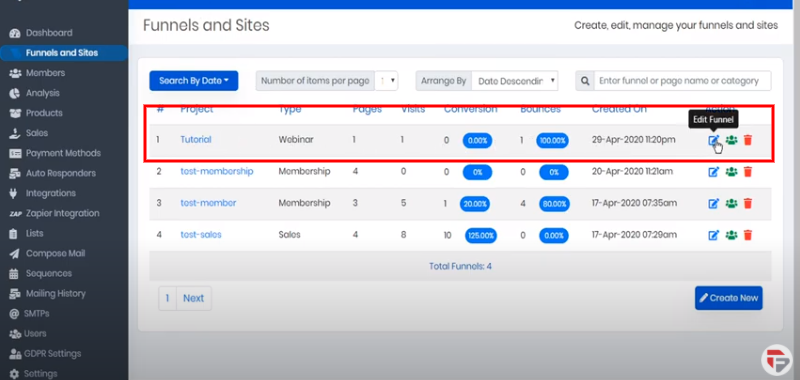
- Here we can choose the page that we want to edit. The opt-in forms are here on the registration page that are already selected.
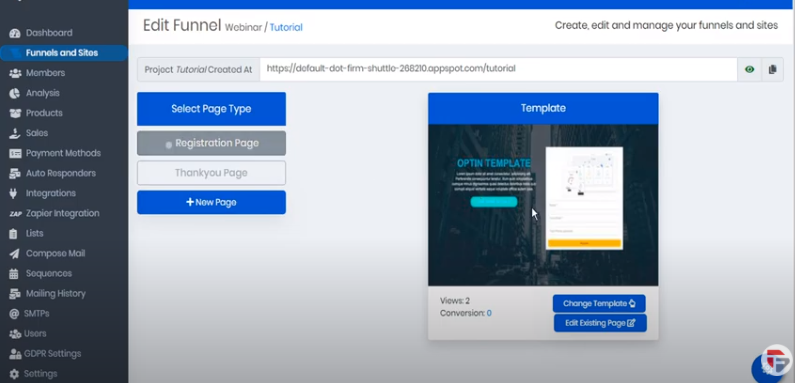
- So now we can click on the Gear icon in the extreme right to enter the edit page.
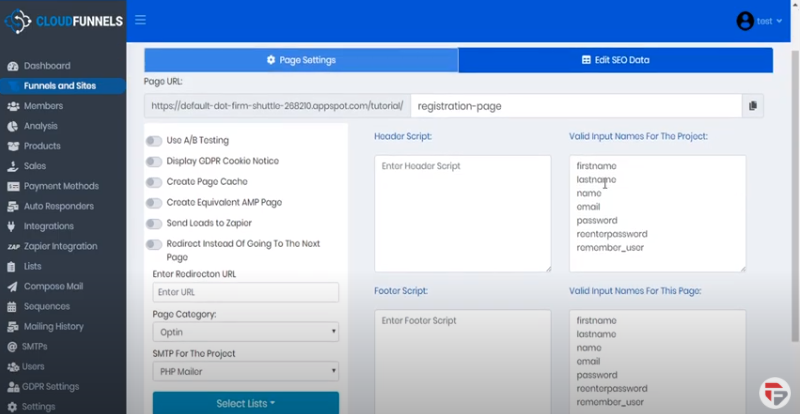
- Here on the edit page for the registration page we can see the names of the valid inputs for this project as well as Valid input names for this page.
- You can recall from the browser page inspector that we are looking for inputs of name, email, and phone number.
- Here the input for the phone is missing so we can add here and then click the save button.
- It will be automatically added to the Valid input names for this product
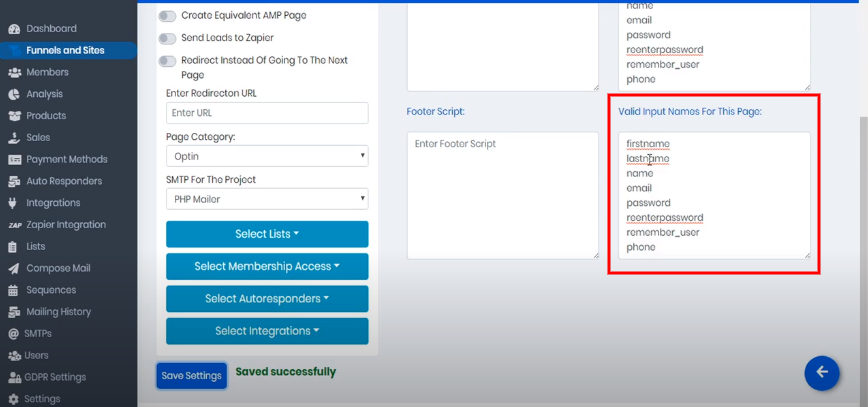
These input names represent all the things that we will be asking our customers for that CloudFunnels will be able to short force into meaningful data. Let’s go back to our funnel editor and let’s edit our existing templates.
Here if we select the Name Input field within the sign-up form and then go to the top menu and select component settings.
Under the field of name if we click the dropdown we will see the list of all the available inputs that are available within our project.
Here are the Name, Email, and Phone Number that we added in the beginning. For this let’s select name, now any information that the customer puts in the Name Field will be automatically categorized as name.

Next, we will select the email field.
- Click the component settings
- Click the dropdown menu
- Select an input name for this one, we are selecting here email
Now any information put here by the customer will be named as email. If you put the wrong setting here, for example, If you choose the last name any information put in the email field by the customer cloudfunnels will interpret it as the customer’s last name.
So it’s really important to have the setup properly.
Finally, for the phone field settings, you have to follow the same steps. To mark this field as required checkmark the Required Box.
Then under the Place holding field, you can easily adjust the text. So instead of saying optional you can type over there required.
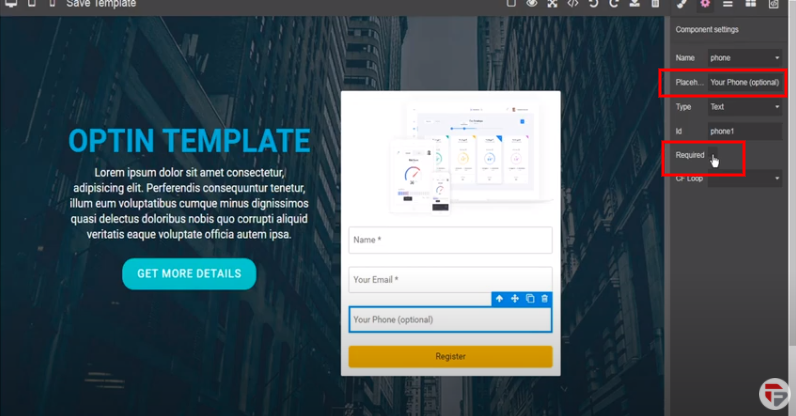
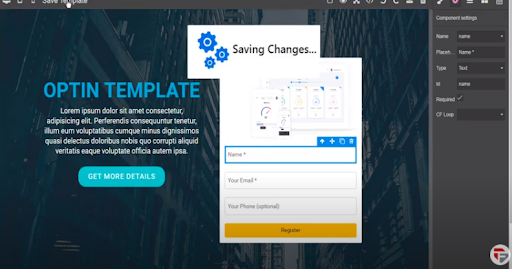
So once you are happy with your changes make sure to click on the Save button otherwise you will lose them.
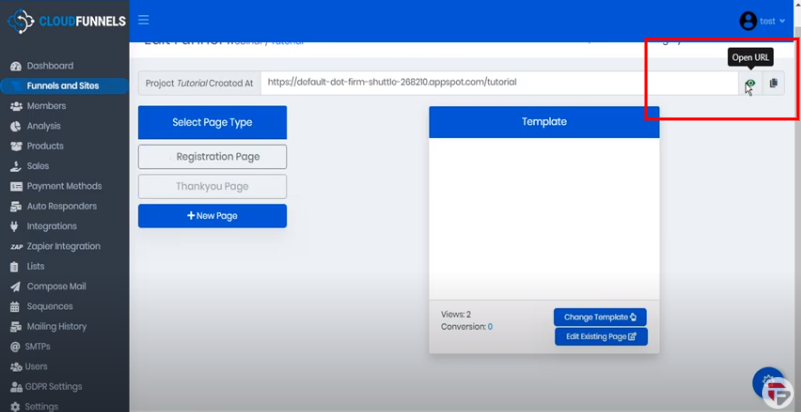
Now we can return to CloudFunnels and click on the open URL icon and this will automatically open our first page of cloudfunnel.
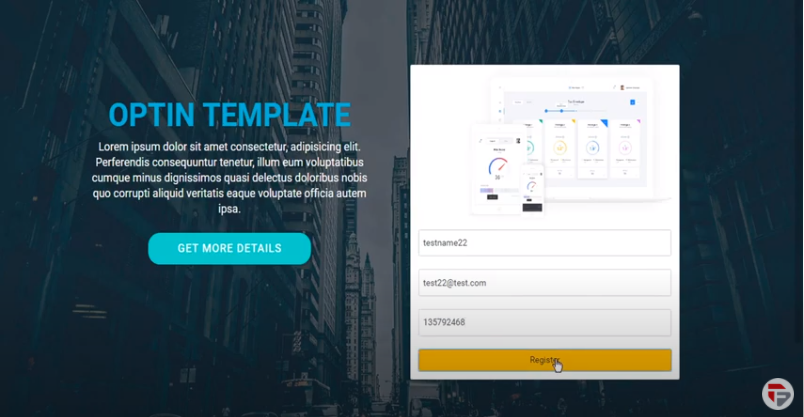
So here’s our page lets enter the test name, email, phone number, and then click the Register button.
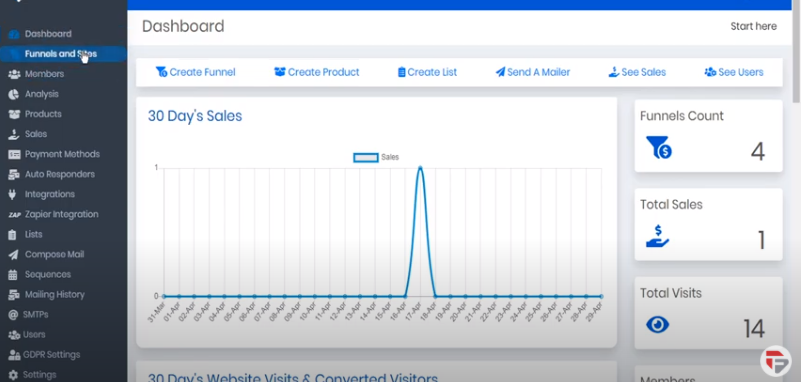
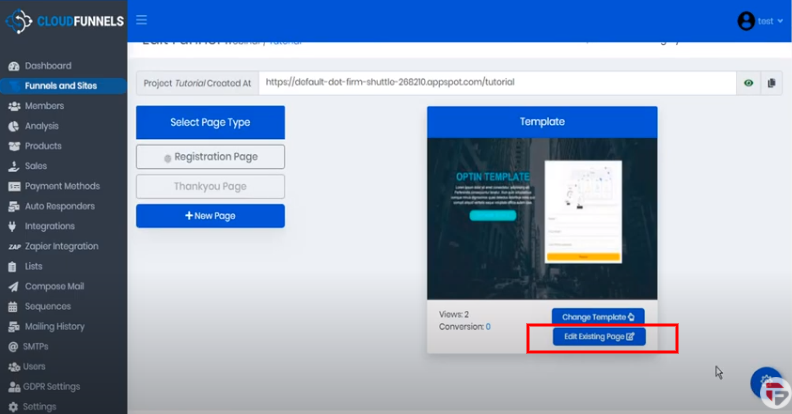
Cloudfunnels has accepted the invitation, when we go back to Cloudfunnels we can see that our page has been updated to show 2 views and 1 conversion.
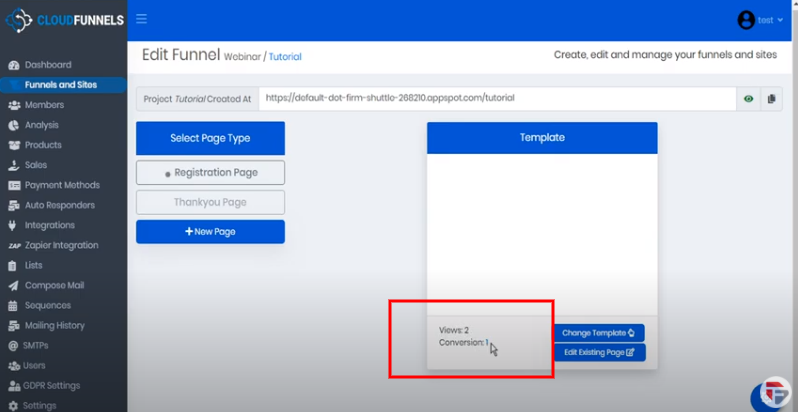
The conversion number is a clickable link, when you click on it you can see the list of our conversions.
And here we can see the Test Name, Email, and Phone number.
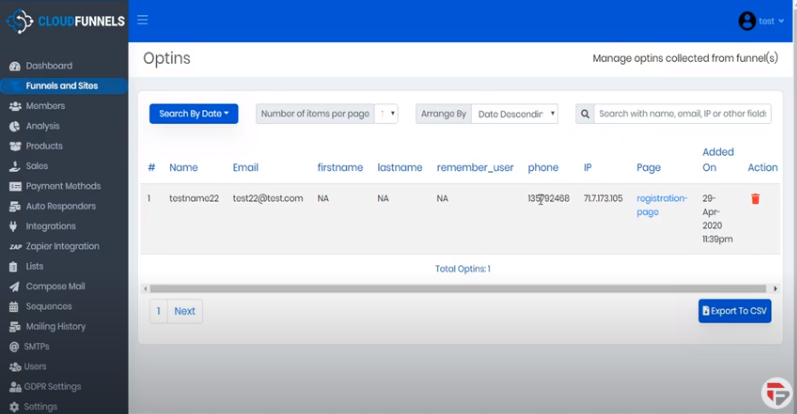
As our list of opt-ins grows we can search by date, expand the number of items per page, sort by date, and search with name, email, Ip, or other fields.
I hope this clarifies the importance of inputs in CloudFunnels.